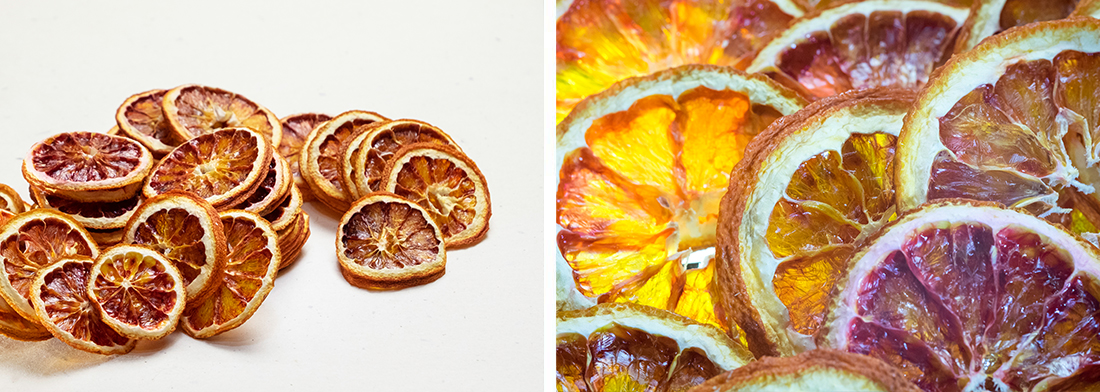
Dried Blood Oranges
- Drying, Salting & Potting
Drying blood oranges is a very simple and easy 3 step process: wash, cut and dry. Have some fun and play with the vibrant colour and flavour of dried blood orange. This recipe will also work for any citrus you may want to dry. Transforming lemons, limes, mandarins, grapefruit, tangelos or kumquats into an instantly fashionable garnish or flavouring is very vogue.
Garnish your summer spritzer, favourite aperitif or homemade cordial with slices of preserved blood orange and lemon. Roll your margarita glass in powdered lime and a mixture of salt and sugar for some extra razzamatazz. Or use as a creative garnish on your next cheesecake, pavlova, citrus tart, lemon meringue pie or ice cream dessert. Let a dehydrator do all the work for you and watch it conveniently process a consistently high-quality product.
- Preparation Time:
- 15 minutes
- Drying Time:
- 6-8 hours
PREPARATION
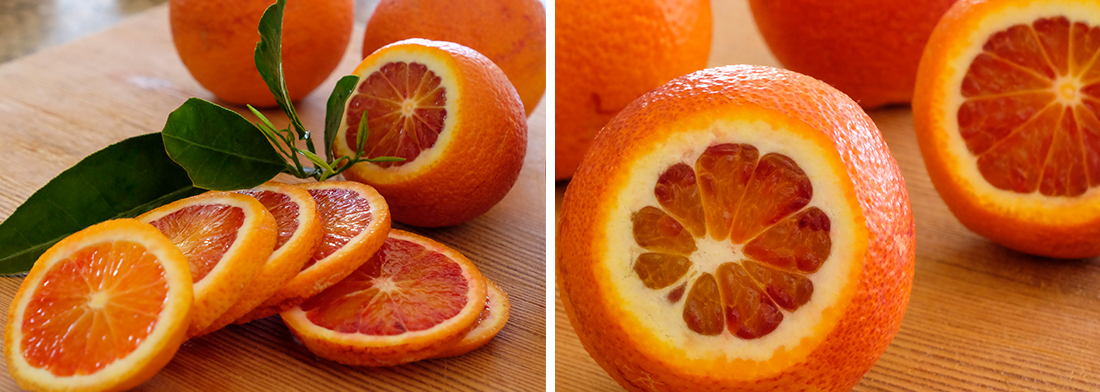
Wash the blood oranges to remove any commercial wax or garden debris and dry.
INGREDIENTS
- 8-10 Medium sized
- Blood Oranges
METHOD
Wash the blood oranges to remove any garden debris if home grown or any artificial wax that may have been used as part of commercial processing.
Leaving the peel on, slice the blood oranges 3-5 mm thick, depending on how thick you want the final slices to be.
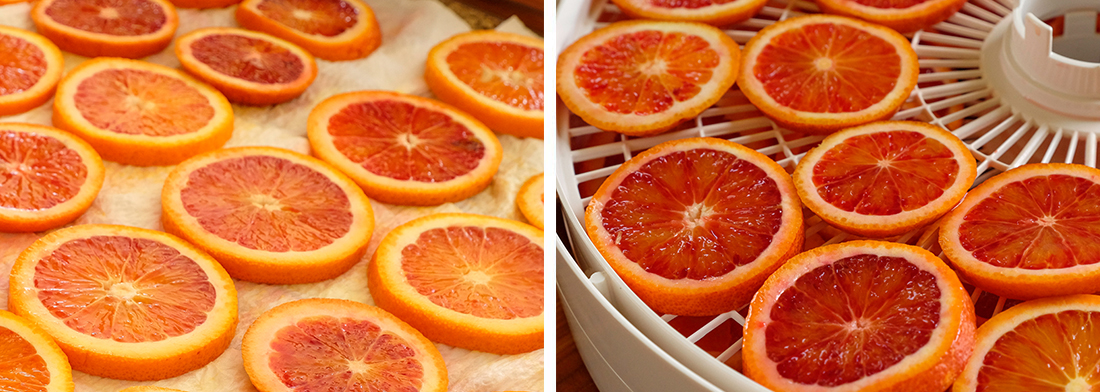
Once cut, lay the slices out on paper towel or a tea towel. Cover with the same and pat dry to remove any immediate excess moisture.
Place the sliced orange rings evenly in a single layer, without overlapping, onto the dehydrator tray. Repeat the process and use as many trays as required.
As each tray is loaded, place in the dehydrator and cover with the lid or seal up depending on the type of dehydrator model you have. Turn on. Cook at 58-60 degrees C for approximately 6-8 hours or at the recommended temperature for drying fruit as specified by your dehydrator model. The slices should be dry and not sticky to touch.The drying time will depend on the type of dehydrator model, moisture content of the oranges and the thickness of the slices.
-
Allow to cool before storing in paper bags and/or airtight container. They will go mouldy if they are stored in a plastic bag.
-
Label with the name of the product and date dried as a minimum. Store in a cool, dry and dark place.
NOTES
- Use only the best quality produce at the peak of ripeness and flavour. Remove any bruised or damaged sections but not do use mouldy fruit.
- No pre-treatment is required when drying citrus as they do not oxidise (go brown when cut and exposed to the air) as apples, pears and apricots.
- It is recommended that fruits are dried at 58-60 degrees C to minimise the loss of heat-sensitive vitamin A and C and to retain colour.
- Drying times can vary and will be influenced by the type and efficiency of your dehydrator, fruit moisture content, the thickness and evenness of the sliced fruit and climatic conditions such as temperature and humidity.
- Check the slices every hour or so and turn over as required. Remove any slices that are dried and rearrange the trays as required.
- When labelling, other items that can be recorded include dried weight, drying time and temperature, length of storage time before use - your own Best Before Date - plus any other information you think is important. I have different varieties of apples, citrus and peaches so I like to note the fruit type such as Granny Smith or Pink Lady Dried Apples.
- Correct labelling assists in rotating products in the pantry as it starts to fill from your preserving adventures.
- Place the latest products to the back of your storage so that the oldest preserved products are always used first
- Package dried fruit as soon as it is cool so that it does not commence absorbing moisture. Exposure to moisture at this stage or from incorrect packaging can lead to a loss of quality and the development of mould during storage.
- Home vacuum packaging is an excellent way to keep your products dry and preserve their flavour and colour. Vacuum packaging will extend the shelf life 3 - 4 times.
- Bag sealers are useful but note that they do not remove the air within the package and will not produce the same result.
- Do not store fruits and vegetables in the same storage container as there may be a transference of flavour and moisture.
- The darker and cooler the storage area the longer dried foods will last in peak condition. For every 10 degrees C lower the storage area is, shelf life is increased 3-4 times