Pear, Ginger & Cardamon Jam
- Jams, Jellies & Marmalades
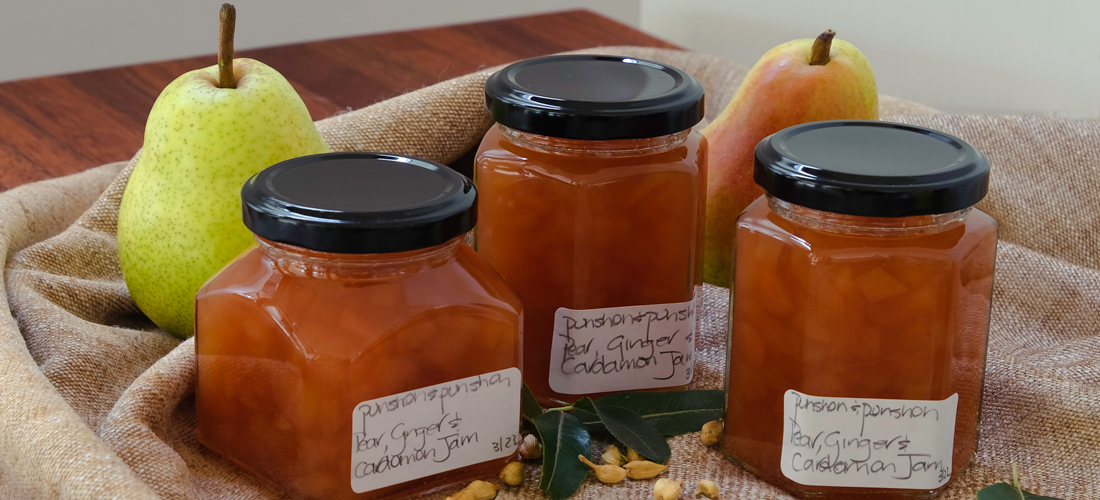
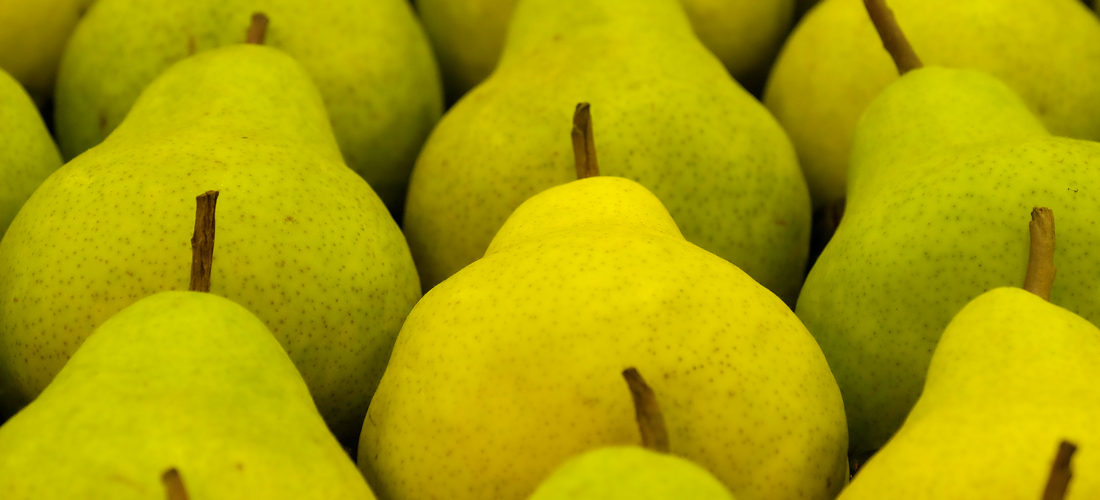
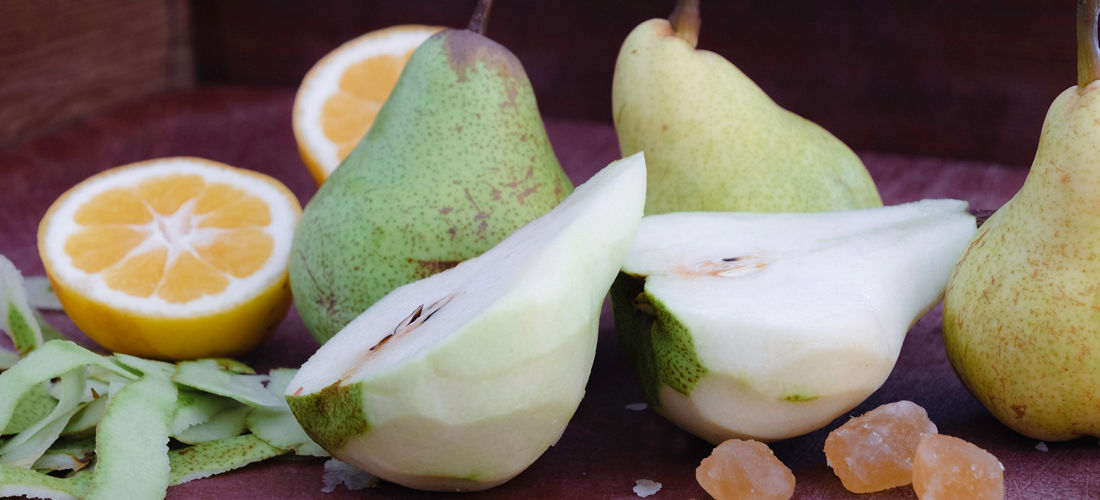
A fresh, delicate preserve, this jam is an Autumn gem. Pear jam will never be found on the supermarket shelves, so you can be sure that it’s truly an artisanal delight. Pears readily absorb other fruit and spice flavours, cinnamon, cardamon, anise, allspice, clove, and vanilla, so the variations are endless. Each one created will carry your signature thumb print on it. It’s delightful on your favourite breakfast bakery item, spooned over ice-cream or yogurt. Serve on a cheese board along with fresh pears as a quirky alternative. Pears are low in pectin, so the lemon helps it to set as well as enhancing its flavour. Expand your autumn preserve repertoire and spread liberally on toast or with friends.
- Preparation Time:
- 30 minutes
- Cooking Time:
- 30 minutes
- Quantity:
- 4 x 200ml jars
INGREDIENTS
- 1 kg
- Pear, ripe
- 250 ml
- Water
- 2
- Lemons, juice and rind
- 2 teaspoons
- Cardamon, green pods
- 485g
- Sugar, white
- 4 teaspoons
- Preserved ginger, minced
METHOD
Cooking pears work perfectly for this recipe. With their firmer texture they stand up to the jamming process. Although they will soften, they will not disintegrate like an eating pear.
Gently wash pears to remove garden or shop debris.
Remove excess moisture by gently patting dry or allow to rest on a clean dry tea towel.
Place water and lemon juice in preserving pan or large heavy bottomed stainless-steel pot. Working on one pear at a time, remove pear stem, peel, core, and dice into 1 cm cubes.
Drop immediately into the preserving pan and mix so the pieces are coated with water and lemon solution to prevent the pears from browning. Add the ginger.
Place the lemon rind and whole cardamon pods into a large tea strainer or make a preserve bag. Refer notes below on how to make the bag. Add to the pan.
Bring slowly to the boil and simmer with the lid on, to prevent unnecessary evaporation, until the pear is soft and mushy.
Remove the lemon rind, and cardamon, ensuring any juice is squeezed out of the rind and discard. This contains the precious pectin to help the jam set.
Add the warmed sugar in a couple of batches. Stir until completely dissolved then boil rapidly until the setting point is reached.
Remove from the heat, place on a heat resistant surface and skim to remove the scum-the foam like substance which has risen to the surface. Allow to sit for 5-10 minutes to ensure the fruit is evenly distributed.
Using a wide-necked funnel, ladle into warm sterilised jars, to within 2.5 cm (1 inch) from the top of the jar, being careful to distribute the fruit evenly between the jars. Seal using either the hot or cold method. Refer notes below. The hot method is preferred as there is a reduced risk of contamination prior to sealing.
-
Label and store in a cool dark place in the kitchen or pantry.
Allow the jam to mature for at least 2 weeks before eating.
NOTES
- To warm the sugar, put the recipe quantity in an oven proof container and place in a preheated oven to 150 degrees C for approximately 10 minutes. The sugar should be warm throughout the bowl. Warmed sugar dissolves quickly and a rapid boil, until the setting point is reached, helps to preserve the fresh pear flavour. To keep warm until required, turn off the oven and leave.
- If you don’t have a preserving pan, use a large heavy bottom pot, preferably stainless steel. Ensure there is enough space available for the mixture to double in size while it is rapidly boiling.
- Choose ripe clean fruit. Do not use overripe and never use mouldy fruit as this will produce a poor-quality jam.
- Ensure the sugar has completely dissolved before boiling otherwise the sugar may crystallise later in the jar.
- Rapidly boil the jam until it reaches the setting point, stirring occasionally to prevent the jam from sticking on the bottom of the pot. But not too often as this will lower the temperature and delays reaching the setting point. Long slow simmering at this point will affect its colour and flavour.
- Pears have a low acid content and require the addition of lemon juice to produce a set. Refer to my post, What Makes Jam, Jelly, Marmalade Set, to understand how preserves set. It also contains a handy Acid and Pectin Chart so you can get even your most creative combinations to set.
- If for some reason, a jam doesn’t set don’t discard it. It can be used as a delicious sauce to accompany cake, dessert or spooned lovingly over ice-cream or yoghurt
- This jam does not contain a lot of liquid so should set quickly.
- Making a cloth bag, drape a square of muslin or calico over a basin. Place the lemon rind and pips into the cloth. Draw all the edges together and tie with kitchen string. It's now ready to use.
- Removing the scum
- Jam, jellies, and marmalades can produce a scum while boiling. Impurities from the fruit and sugar will rise to the surface and a fine frothy foam will move towards the edge of the preserving pan. Some fruits will produce more scum than others.
- This is a natural self-clarification process and makes the task of making a high-quality preserve made easier. Removing the scum increases the preserve’s clarity. Very important if it’s being submitted for competition. Remove the scum before bottling. Using a stainless-steel spoon, skim the scum from around the edge of the preserving pan. Be careful to remove just the scum and not the jam. This can be done while the jam is boiling and/or once it has been taken off the heat. Do not attempt to remove the scum from the centre of boiling jam, as there is a high risk the jam will splutter and hot jam burns. Some preservers add a small knob of butter (25g per 900g fruit) to the fruit mixture after the sugar has been added. This helps to prevent the formation of scum.
- Using paraffin Wax
- Paraffin wax is available in speciality preserving stores and some rural hardware stores.
- The melted wax must be poured over the preserve while it is hot.
- Break the wax into small pieces and heat in a bowl set over a pan of hot water. Bring to the boil, reduce the heat to maintain a gentle simmer until the wax is just melted
- Do not overheat. If it gets too hot it will shrink away from the sides of the preserving jar as it cools. This will break the seal and allow impurities to access the contents, encouraging mould growth.
- Working quickly pour a thin layer over the hot preserve. Using a small wooden cocktail stick, toothpick, or cake skewer, prick any air bubbles.
- Allow the wax to set. Then pour a second thin layer to make a seal approximately 3mm thick.
- Cover the jar with clear film and secure with a tight rubber band.
- When the wax has set it will become opaque and dip slightly in the middle.
- To use the preserve, break the wax seal and remove.
- Sealing with wax is not a long-term solution. Use within a couple of months once opened and store in the fridge.