Pear and Walnut Chutney
- Pickles, Chutney, Relish & Sauces
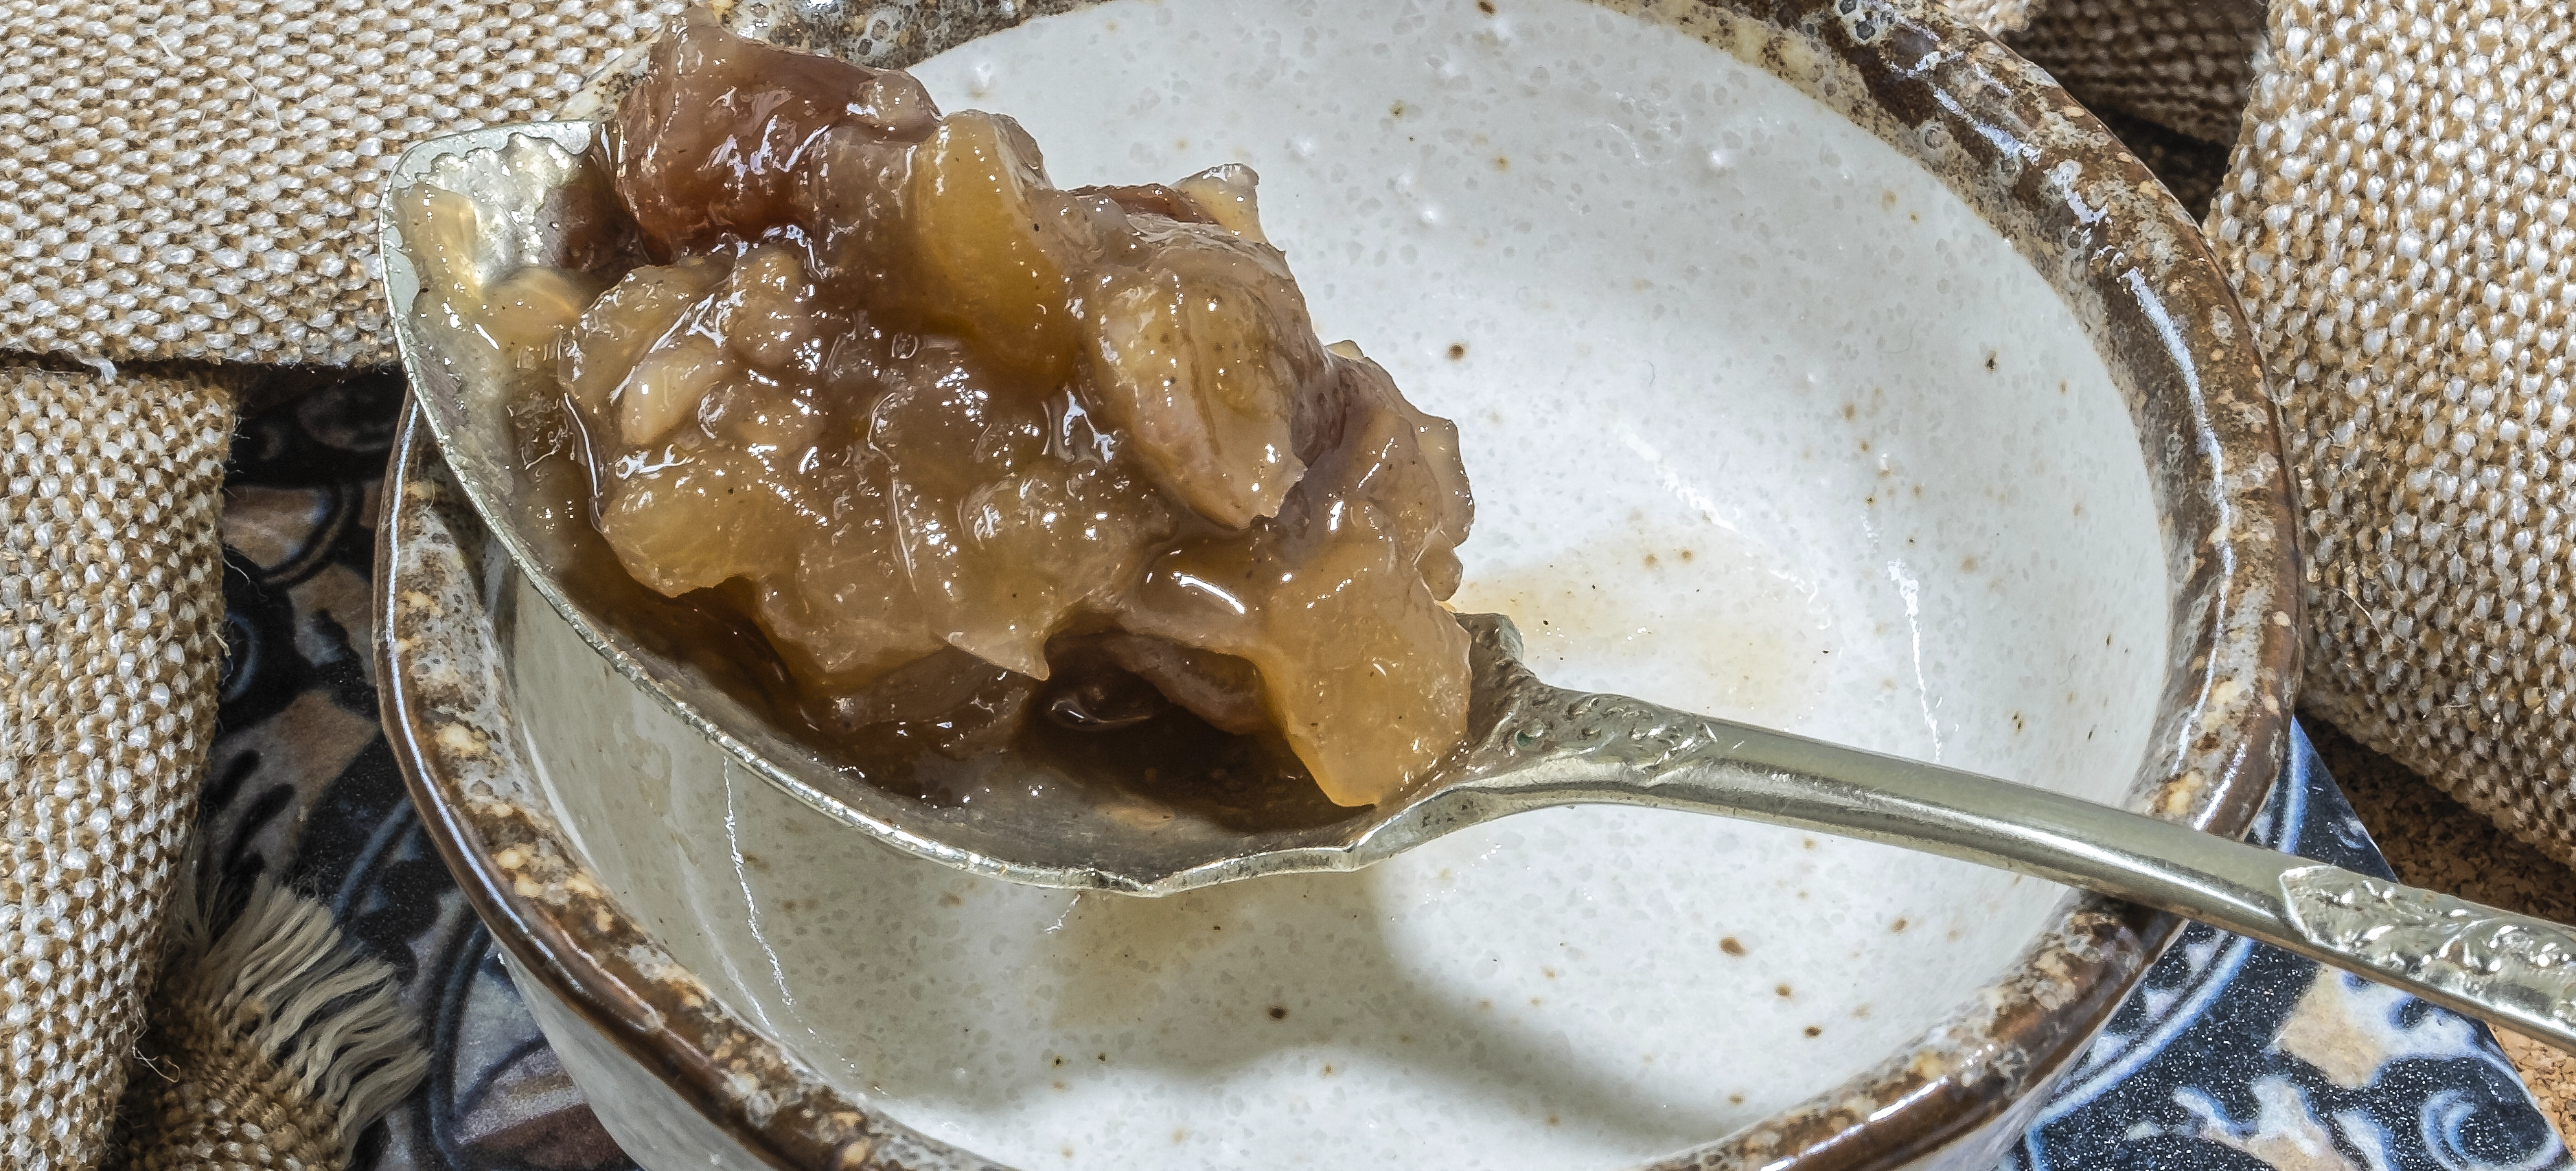
Pears and walnuts are perfect autumnal partners. Make the most of the abundant harvest, orchard windfalls or the produce markets special peak season prices. The mellow flavour of pear, enriched by warm earthy cinnamon and walnut tones, produces a sophisticated chutney that you won’t find on the supermarket shelf. Plus, it’s so simple to make and very versatile. Serve with your cheese board, as an accompaniment to chicken and pork dishes and grains like pilaff , tabbouleh, and buckwheat style salads.
An opened jar will soon be devoured. Do something a bit different with your pears and watch yourself being transformed into a pear and walnut chutney devotee.
- Preparation Time:
- 20 minutes
- Cooking Time:
- 60 minutes
- Quantity:
- 5 x 300ml jars
PREPARATION
Have warm sterilised glass jars and lids with a protective lining ready.
INGREDIENTS
- 1 kg
- Cooking pears, firm
- 250g
- Granny Smith apples or tart cooking apples
- 200g
- Brown onions
- 450 ml
- Apple cider vinegar
- 100g
- Sultanas
- 1
- Orange, grated rind and juice
- 400g
- Sugar, white
- 100g
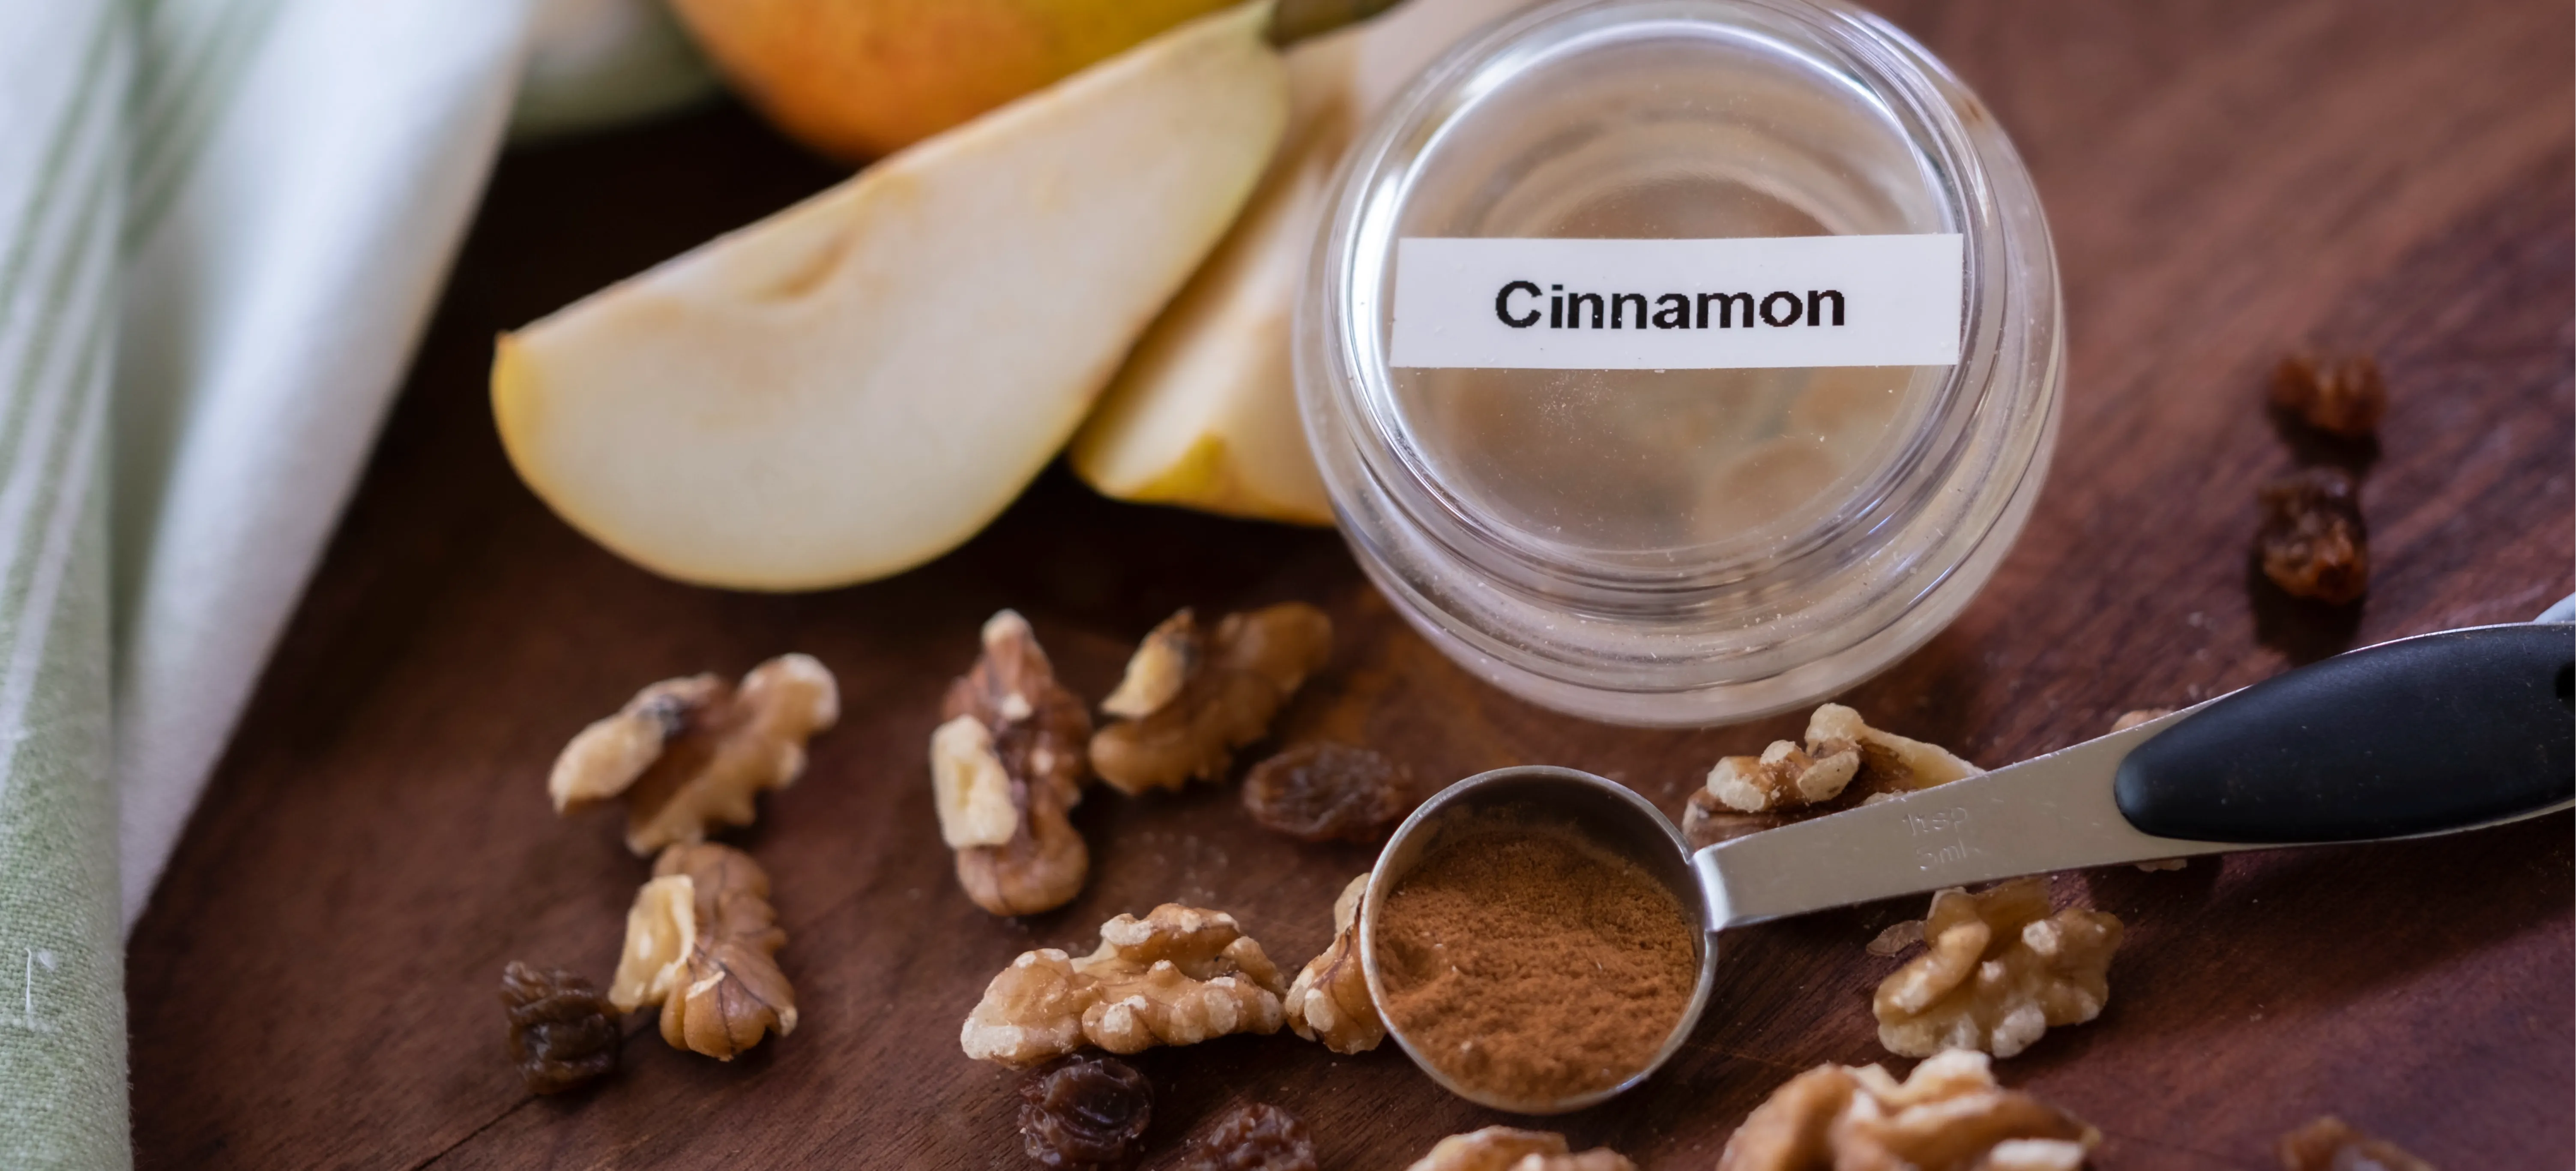
- Walnuts, roughly chopped
- 1/2 teaspoon
- Cinnamon, ground
METHOD
Peel the pears and apples, remove the core and chop into 2.5cm (1 inch) pieces. Place immediately in a preserving or heavy bottom stainless steel pan and add the cider vinegar. This will prevent the fruit from turning brown before you commence cooking. Discard the peel and cores.
Peel and quarter the onions and chop to approximately the same size as the fruit and put in the pan.
Place on the heat, bring slowly to the boil and simmer gently for approximately 30 minutes or until the fruit and onions are soft. Stir occasionally.
While the fruit is cooking use a fine grater or micro plane to remove the rind from the orange. Juice the orange and place in a small bowl with the sultanas and zest and leave to soak until needed.
When the fruit is cooked, add the sugar, sultana and juice mixture and gently heat until all the sugar has dissolved. Simmer approximately 30 minutes until the chutney is thick and there is no excess liquid in the pan. Stir occasionally while simmering and then more frequently towards the end as the chutney thickens.
Add the walnuts and cinnamon and simmer for the last 5 minutes.
Remove from the heat and allow to cool slightly.
Using a funnel, pour into warm dry sterilised screw cap sealable jars. Fill to approximately 2.5cm (1inch) from the top and seal while hot or use your preferred method.
Label and store in a cool dark place in the kitchen or pantry.
Allow the chutney to mature for at least 2 weeks before eating. Refrigerate after opening.
NOTES
- Pears are easily bruised and ripen from the inside out. Handle gently and store carefully in a single layer before using. It's better to select slightly under-ripe pears, green, and allow them to ripen in the kitchen or pantry. Overripe pears can develop a gritty texture. Firm cooking pears are preferred in this recipe and will give a better consistency and flavour than using overripe table pears
- Good quality jars should be used in preserving, particularly when they are processed in a hot water bath. Thin jars often cannot withstand the temperatures and may crack either in the bath or on and or after removal. Avoid the disappointment and invest in some good jars from a homewares or preserves outlet. Select jars that have non-reactive lids as the vinegar solution can cause the lids to rust over time.
- The type and colour of sugar and vinegar used will affect the final colour and flavour of the chutney. Malt vinegar and brown sugar will produce very dark brownish chutney with a more earthy/molasses background flavour. White wine or apple cider and white sugar will allow the fresh fruit flavour of the pear to come through. I use a combination of white sugar with apple cider vinegar in this recipe as they retain the delicate colour and pear flavour.
- The cooking time is an approximation only and depends upon
- The size of preserving pan – the broader the pan the quicker the evaporation.
- Degree of fruit ripeness – the riper the fruit, the sweeter and juicier the initial chutney will be.
- The degree of heat when cooking – the higher the heat, the greater the boil – this will produce greater evaporation.
- To test the chutney is cooked to the right consistency, spoon a little of the mixture on to a plate. It should hold its shape.
- Do not place a lid on the pan while cooking. Cooking it uncovered allows evaporation which helps to thicken the chutney. Towards the end of the cooking process, it may be necessary to stir regularly. It is important the fruit does not stick to the bottom of the pan and burn. Your chutney will be tainted with a burnt flavour which is not very pleasant.
- Always store chutney in a cool dark place. A warm area can cause it to ferment, and bright sunlight can affect the colour.
- Chutneys are best left to mature for 2 months in a cool dark place before eating. Traditionally they were stored in the cellar or pantry.
- Cinnamon (Cinnamomum verum)
- Contains sweet and aromatic flavours. It doesn’t taste sweet in itself, rather it enhances the perception of sweetness in other ingredients. It has the ability to draw out sweet notes in savoury dishes. Cinnamaldehyde is the main flavour compound and is sensed by the temperature sensors on the tongue, giving cinnamon a warming quality
- Cinnamon sticks keep their flavours for up to a year. Keep in an airtight containers and store in a cool dark place in the pantry or kitchen. The lighter brown, thinner more fragile sticks are higher quality.
- Inner layers of bark are dried in the sun and rolled together by hand to make “quills”.
- Use ground cinnamon in this recipe.
