Spiced Cider and Apple Jelly
- Jams, Jellies & Marmalades
This apple jelly is an absolute stand out. It shines in the apple jelly crowd and from the first spoon full, you’ll be convinced it’s a keeper. The addition of cloves, cinnamon and apple cider creates a rich and warming flavour to apple’s refreshing fruitiness. It's apple love in a jar. Spread liberally on your favourite breakfast bread, pancakes, waffles, scones and of course serve as an accompaniment to apple or pear pie and desserts.
- Preparation Time:
- 20 minutes + overnight straining
- Cooking Time:
- 60 minutes
- Quantity:
- 5 x 300 ml jars
INGREDIENTS
- 1 kg
- Green Apples, Granny Smith or equivalent
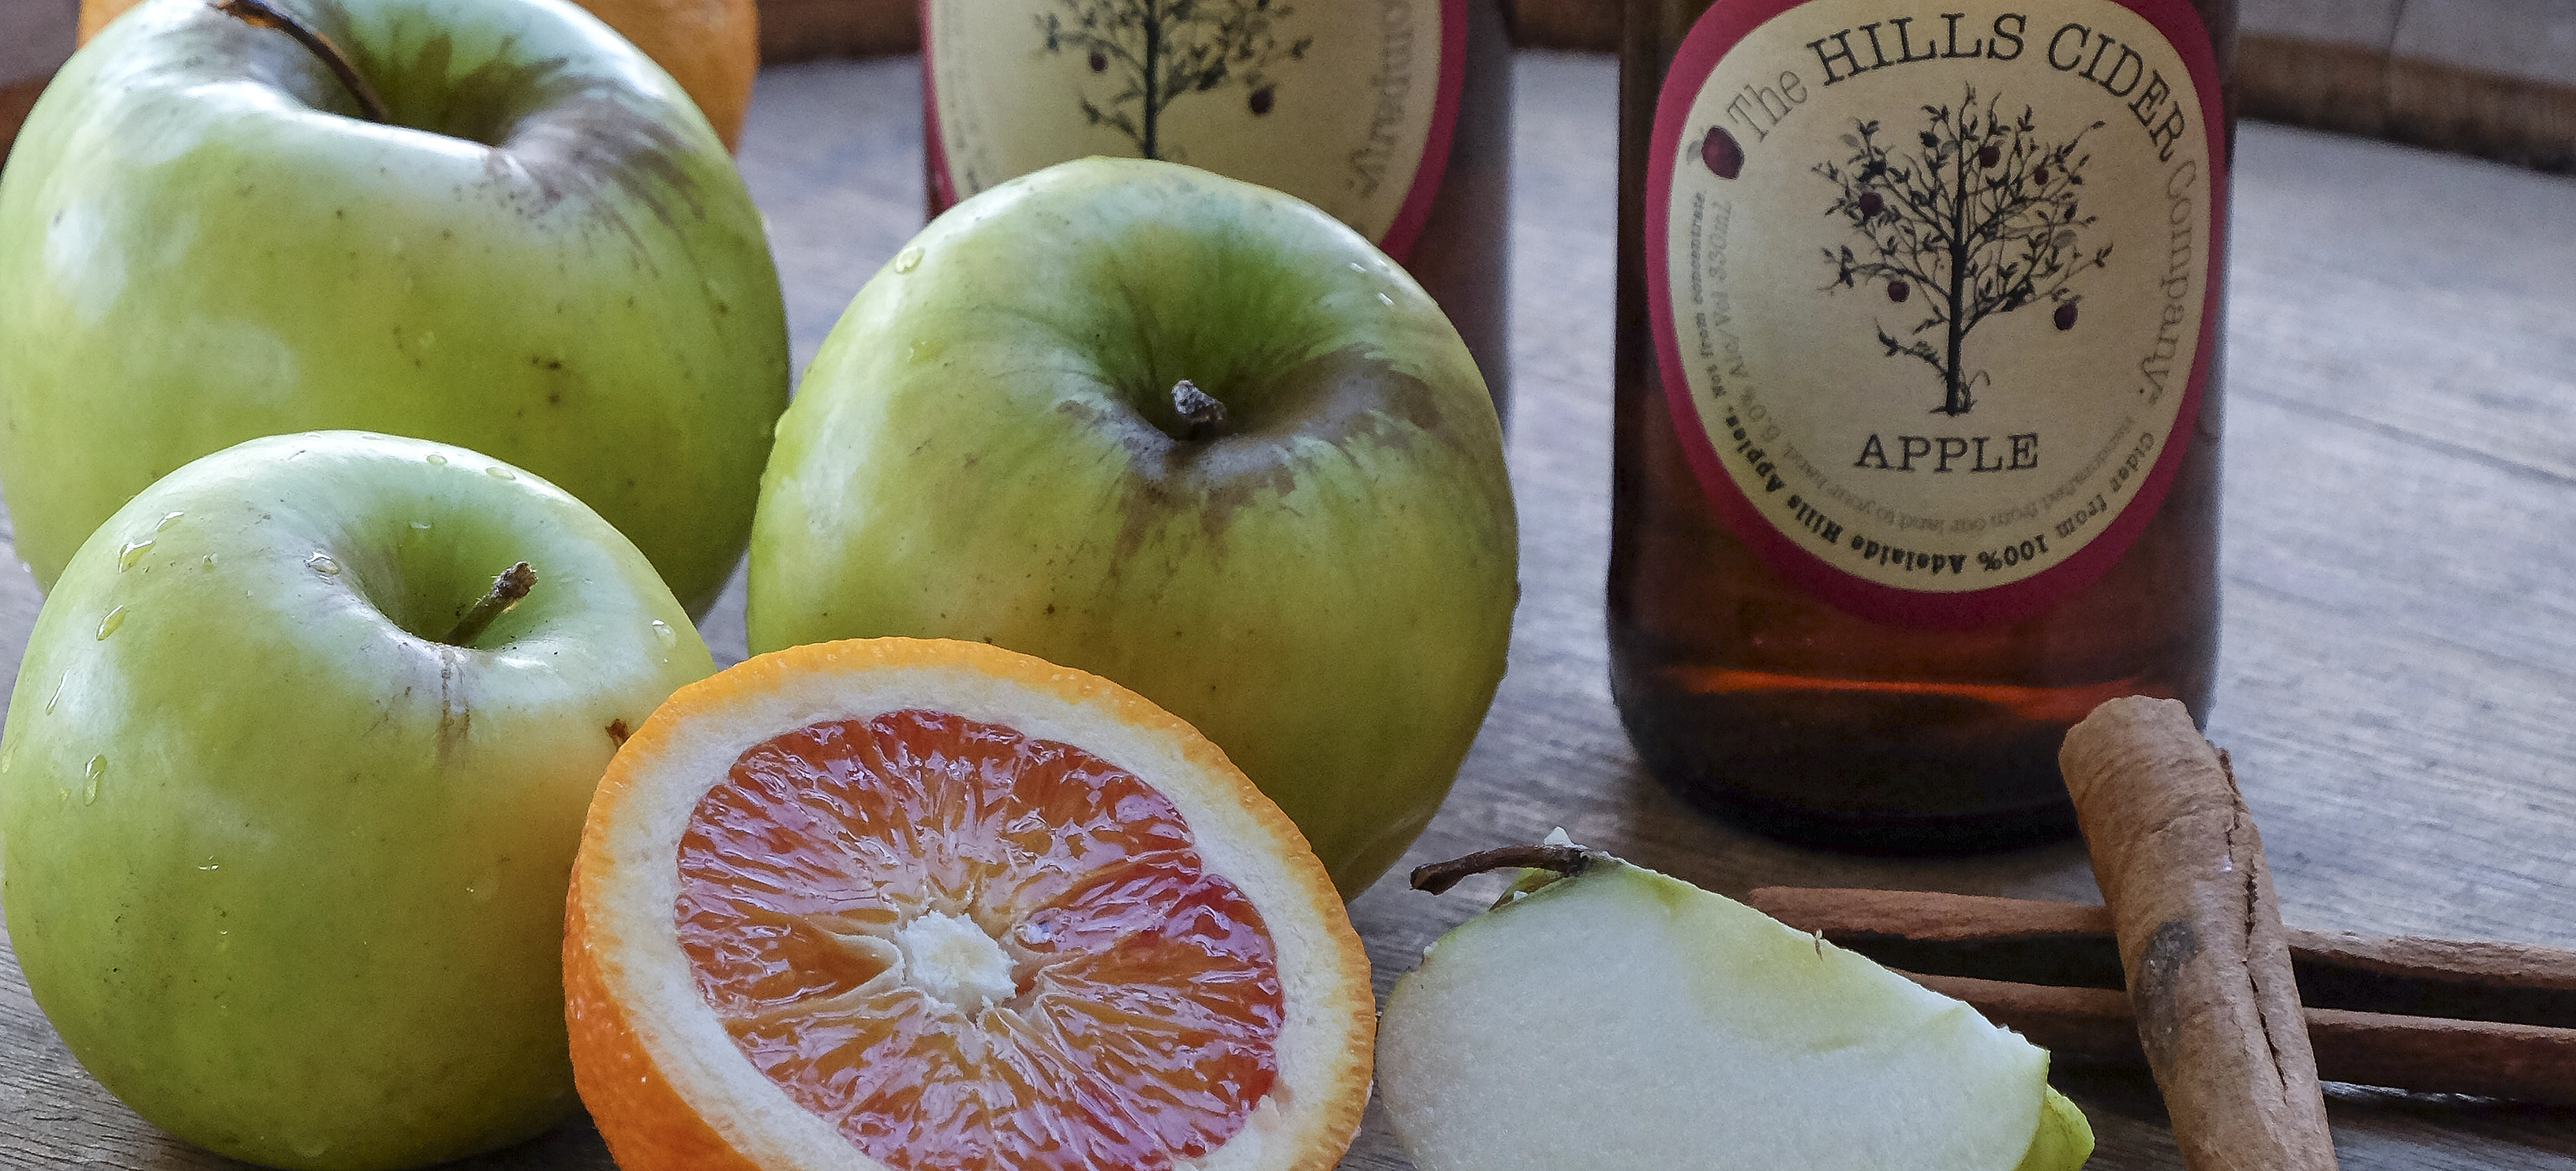
- 900 ml
- Sweet Apple Cider
- 2
- Oranges, juice and pips
- 1
- Cinnamon stick
- 5
- Cloves, whole
- 150 ml
- Water
- 900g
- Sugar, white
METHOD
The principles of jelly making are the same as jam. Both are dependent upon extracting good fruit flavour and getting the right balance between the pectin, sugar, and acid. Jellies are made with juice strained from simmered fruit and then cooked with sugar to the setting point.
A perfectly set jelly should be crystal clear, sparkle with clarity and quiver when spooned out of the jar.
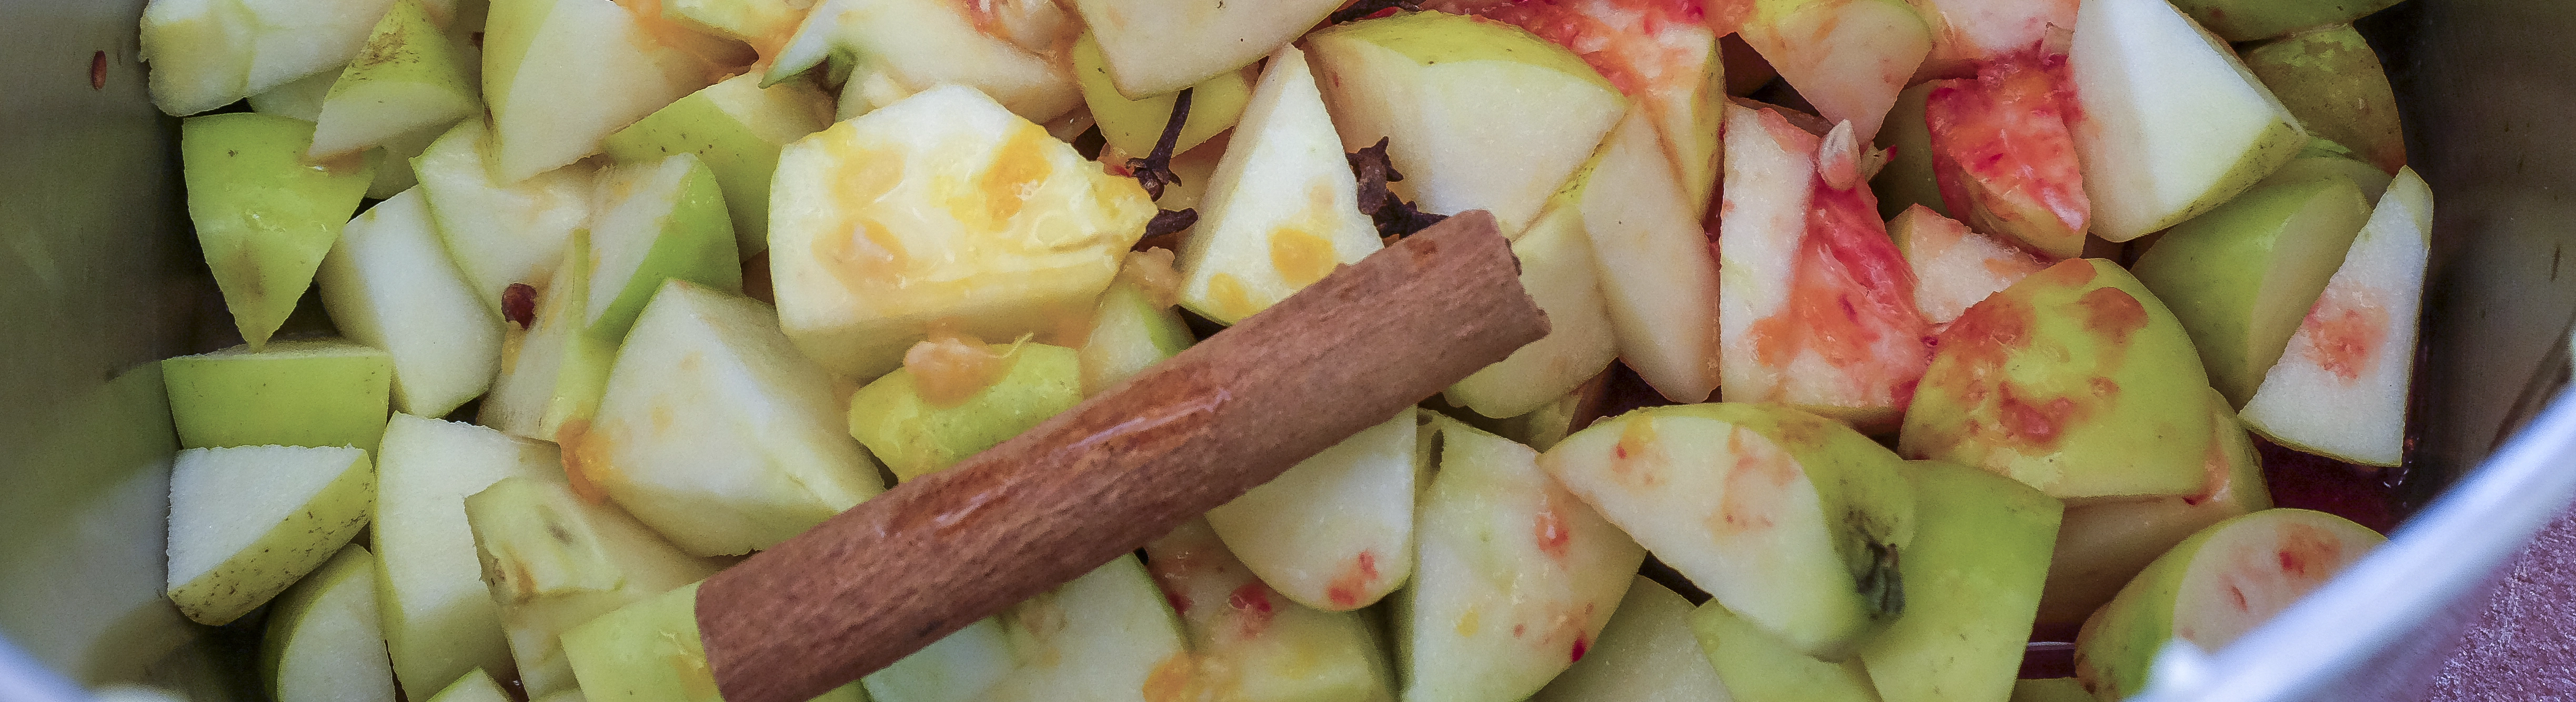
Wash the apples to remove any garden or shop debris. Remove the stalk but retaining the skin and core, chop the apples into quarters, then cut each quarter into half or thirds depending on the size of the apple.
Place the apple, cider, orange juice and pips, cloves, cinnamon and water into a preserving pan or large heavy-based stainless-steel pot. The fruit should be just covered, if not, add extra water, but only just enough to cover the fruit.
Bring the fruit mixture to the boil, cover, then simmer gently for approximately 1 hour or until the apples are very soft and pulpy.
Referring to the Jelly Bag section in the Notes below, prepare the bag while the fruit mixture is cooling. Suspend a scalded bag over a non-metallic bowl. Ladle the fruit mixture and juice into it. Allow to drain naturally overnight, or 4 hours as a minimum. Do not force the juice through. This will result in a cloudy liquid, which makes a cloudy jelly.
The next day
Measure the drained liquid and allow 450g sugar for every 600 ml of liquid. Place the strained juice into a preserving pan and bring to the boil. Add the warmed sugar and stir until completely dissolved. Then bring to the boil quickly and boil for approximately 20 minutes or until the jelly reaches the setting point.
Remove the scum, by skimming the foam-like substance which accumulates around the edge of the preserving pan as it rises to the surface. Remove from the heat.
Use a funnel to pour into warm dry sterilised screw cap sealable bottles. Fill to approximately 2.5cm (1 inch) from the top of the bottle and seal.
Label and store in a cool dark place in the kitchen or pantry.
Allow the jelly to mature for at least 2 weeks before eating.
NOTES
- Choose clean ripe fruit. Do not use overripe and never use mouldy fruit as this will produce a poor-quality jelly.
- To warm the sugar, put the recipe quantity in an oven proof container and place in a preheated oven to 150 degrees C for approximately 10 minutes. The sugar should be warm throughout the bowl. Warmed sugar dissolves quickly and a rapid boil until the setting point is reached helps to preserve the fresh fruit flavour.
- The fruit mixture is simmered with the lid on, so the fruit becomes very soft and mushy without reducing the liquid. The apple flavour intensifies in the liquid which is then cooked with the sugar until a jelly consistency is achieved.
- Allow the juice to drain naturally through the jelly bag overnight. Do not push down or try to force the liquid out of the fruit pulp at this stage. This produces a cloudy jelly. A good quality jelly should be clear and sparkle with clarity.
- The Jelly Bag.
- A jelly bag is essential to make jelly. It can be made from heavy-duty calico, cotton flannel or close-weave nylon, multiple layers of muslin (cheesecloth) or any other material that will only allow the fruit juice to flow through. They are also commercially available through good homeware and speciality preserving stores.
- Secure the jelly bag tightly, using loops or very strong tape, on a stand, upturned stool or chair, in a jelly bag holder or over a stainless-steel sieve. Place a non-metallic bowl underneath to catch the liquid as it strains.
- Fill the jelly bag progressively with the cooked fruit mixture and all the cooking liquid. The skin, seeds, pulp, and liquid must strain through the bag.
- Sterilize the jelly bag prior to each use by scalding it with boiling water. This will also help the juice to run freely through the bag, instead of being absorbed into it.
- Immediately after use, remove the pulp and seeds, thoroughly wash the jelly bag and rinse several times to remove any detergent residue. Completely dry the bag before storing. The bag can be reused multiple times, however, sterilise it before every use.
- Jelly yield is lower than jam as the pulp is discarded. The final yield will depend upon how juicy the fruit is, and this is influenced by the fruit’s ripeness and time of year.
- Removing the Scum
- Jams, jellies, and marmalades can produce a scum while they are boiling. Impurities from the fruit and sugar will rise to the surface and a fine frothy foam will move towards the edge of the preserving pan. Some fruits will produce more scum than others. This is a natural self-clarification process and makes the task of making a high-quality preserve easier. Removing the scum increases the preserve’s clarity. This is very important if it is being submitted for competition. Remove the scum before bottling. Using a stainless-steel spoon, skim the scum from around the edge of the preserving pan. Be careful to remove just the scum and not the jelly. This can be done while the preserve is boiling and/or once it has been taken off the heat. Do not attempt to remove the scum from the centre of a boiling pan, as there is a high risk it will splutter and hot preserve burns.
- Often a small knob of butter is added to marmalade or jam to disperse the scum. Do not use this technique with a jelly as it will make it cloudy.
- Jellies can be stored for up to 2 years. However, it is recommended to eat up preserves before the new season.
- Clove (Syzygium aronaticum)
- Cloves are the dried unopened flower buds of a tropical evergreen plant. Borne in cluster of 10-15, they are picked when full size, still green but just on the verge of turning pink
- The aroma is pungent, warm, aromatic, camphor-like and faintly peppery. Flavour is intensely pungent – words like medicinal warming sweeter, lingering and numbing come to mind. Used in moderation cloves bring a pleasing, palate-cleansing freshness, and sweet spicy flavour to food. It has a powerful flavour and is usually tamed by blending with other similar warming spices to soften its dominance. Use sparingly.
- Look for cloves that are plump, not shrivelled or broken and where the majority retain their rounded tops.
- Cinnamon (Cinnamomum verum)
- Cinnamon contains sweet and aromatic flavours. It doesn’t taste sweet, rather it enhances the perception of sweetness in other ingredients. It has the ability to draw out sweet notes in savoury dishes. Cinnamaldehyde is the main flavour compound and is sensed by the temperature sensors on the tongue, giving cinnamon a warming quality
- Cinnamon sticks keep their flavours for up to a year. Keep in an airtight container and store in a cool dark place in the pantry or kitchen. The lighter brown, thinner more fragile sticks are higher quality.
- Inner layers of bark are dried in the sun and rolled together by hand to make “quills.”
- Cinnamon and cassis are distinctly different in appearance and flavour profile.